Most cemetery software demos look impressive, until staff actually has to use them. That’s when common concerns surface: We don’t have time to train everyone. Our staff isn’t technical. If it’s hard to navigate, it won’t get used.
Navigation is one of the most overlooked factors in choosing cemetery software, yet it’s often the difference between a system that supports daily operations and one that creates frustration. When staff can’t find what they need quickly, work slows down, data suffers, and families feel the impact.
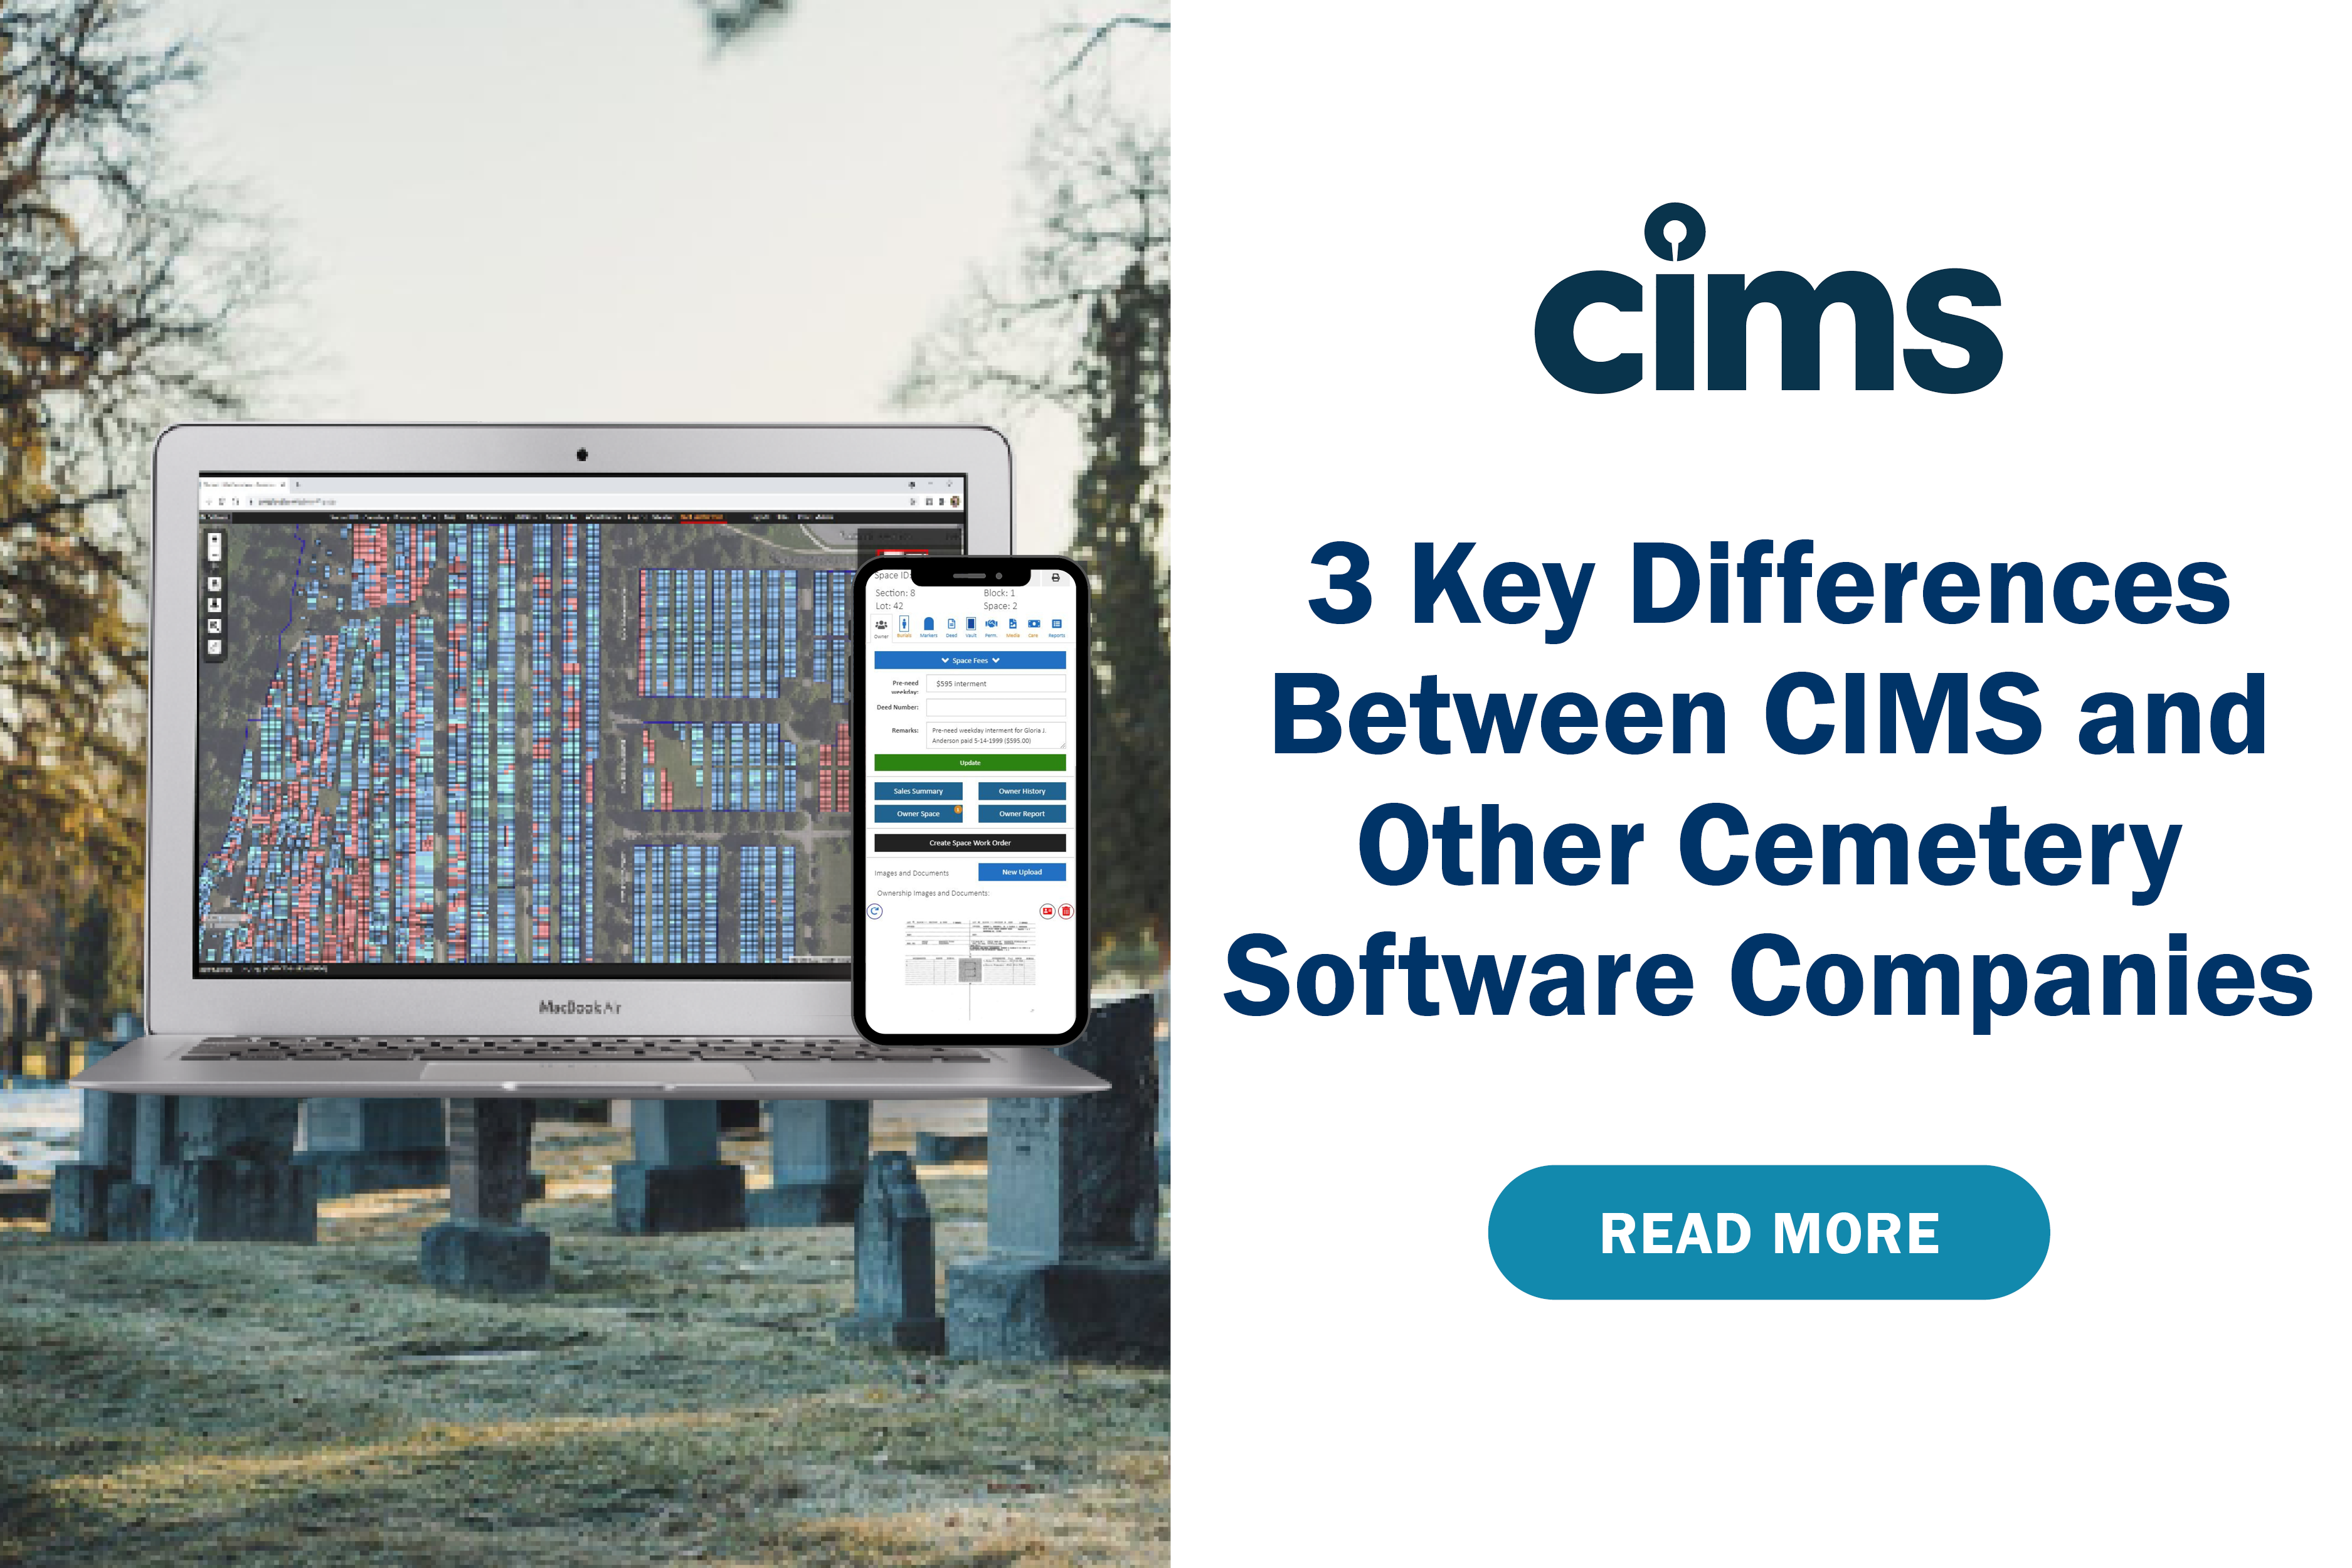
This post walks through five everyday tasks cemeteries perform constantly and shows how CIMS is designed to help users complete them quickly, confidently, and without digging through endless menus. If your software can’t do these five things easily, it’s probably not the right fit.
What to Look for in Cemetery Software Programs
Good cemetery software navigation starts with usability. For buyers evaluating their options, navigation should be viewed as a practical checklist rather than a list of features.
The best systems offer clear, logical menus where tools are easy to find instead of buried behind layers of clicks. They provide multiple ways to access information, whether through search, visual maps, or recently viewed records, so staff aren’t locked in a single workflow. Consistency matters too. Records, maps, work orders, and reports should all follow familiar patterns, so users don’t have to relearn the system every time they switch tasks.
Most importantly, cemetery software should be designed for cemetery staff—not adapted from generic SaaS platforms. CIMS Cloud was built around how cemeteries actually work day to day. Here’s what that looks like in practice.
How CIMS Makes Navigating Cemetery Software Intuitive from Day One
CIMS is organized around what users need to do, not technical categories. A clean top navigation groups tools logically—such as records, maps, work orders, reporting, and utilities—so users always know where to go next.
Instead of forcing staff to re‑search or re‑enter information, CIMS includes built‑in shortcuts that carry context from one task to another. Whether you’re working with ownership records, burial details, markers, or maintenance tasks, the experience stays consistent across the system.
This approach reduces guesswork and shortens the learning curve. New users can begin working confidently almost immediately, while experienced staff move faster without unnecessary clicks or duplicate steps.
5 Cemetery Software Navigation Tips That Save CIMS Users Hours of Work

1. Locate a Grave Without Searching Through Paper or Screens
Families expect fast, accurate answers, and staff shouldn’t need deep system knowledge to locate a grave. In CIMS, users can find spaces using intuitive search tools or by navigating visually through the cemetery map, whatever feels most natural in the moment.
Records and maps are fully connected, so once a space is selected, related information is immediately visible without switching systems or opening multiple windows. This eliminates the back‑and‑forth that slows down responses and creates frustration.
To quickly and easily locate a grave:
- Expand the left-hand flyout. By default, the flyout is set to show the ‘List’ tab.
- If you know the space ID, you can enter it at the top of the List tab.
- Click on ‘Sections’ to expand the list and see the blocks in that section.
- Clicking on a block will show the lots in that block (or your preferred naming convention).
- Click on ‘Lots’ for a list of spaces. Click on an individual space to load its information in the right-hand flyout.
2. Add a New Record Without Breaking Your Workflow
Data entry shouldn’t feel like starting over every time. In CIMS, adding or updating records is designed to fit naturally into daily workflows rather than interrupt them.
Streamlined forms follow a logical field order, making it easy for users to enter only the information they have without being overwhelmed. Required fields are minimal, while optional details can be added as they become available. This flexibility allows staff to learn by doing instead of relying on manuals or extensive training sessions.
There are 2 main ways to create a customer record:

From the ‘Search’ tab:
- Open the left-hand flyout and click on the ‘Search’ tab.
- Choose the type ‘Customers.’
- Click on the green ‘New customer’ button.

From a ‘Last name lookup’ field:
- First, search for the customer by starting to type in their last name. If you do not see their name appear in the orange box below, click the navy blue ‘Add new’ button.
- Next, a popup will appear. The only fields that are required to create a customer record are the first and last names. If you have it, we recommend filling in the birth date to avoid confusion if someone else in the cemetery has the same name.

- When you have filled in the information you would like, click ‘Create’ in the lower-right corner of the popup.
3. Run Reports Without Calling IT or Exporting Spreadsheets
Managers don’t need raw data, they need answers. CIMS makes reporting accessible to non‑technical users by offering built‑in custom reporting tools that work directly with your cemetery’s data.
Users can generate reports across spaces, burials, markers, deeds, customers, work orders, and more to answer specific operational or planning questions. Filters are easy to apply, and reports can be printed, downloaded, or saved for future use.
To create a custom report:

- Use the ‘Search’ tab in the left-hand flyout to get custom reports based on your data. Our search types expand across spaces, burials, markers, deeds, permissions, work orders, customers and more.
- Select the type at the top of the ‘Search’ tab.
- Once selected, use the fields displayed to filter the information you’re looking for.
- You can print, download, or save the report if you want to keep it for future use.

4. Create Work Orders Where Your Data Already Lives
When maintenance systems are separated from cemetery records, important details get lost. CIMS eliminates these silos by allowing work orders to be created directly from the same system that stores your maps, ownership records, and burial data.
Office staff and field crews work from a single source of truth, with work orders tied directly to specific spaces, markers, or burials. Relevant information can auto‑populate, reducing errors and saving time.
- There are two main ways to create a work order:
- Click on ‘Utilities" in the top navigation bar, then click ‘New work order.’
- Through the right-hand flyout, on the ‘Ownership’ tab, ‘Burial’ tab, ‘Marker’ tab and more, there will be ‘New work order’ buttons.
- After using one of the above methods to start the process, the right-hand flyout will change to read ‘New work order.’

3. To easily create a work order for a space, marker or burial, just click on it on your map.

4. Fill out as much or little information as you like, including the task, priority, due date, details about the work that needs to be done, and more. Don’t forget to click ‘Save.’

5. Share Burial Information Publicly
Today’s families expect online access to burial information and meeting that expectation can significantly reduce phone calls and emails to staff. CIMS Burial Search provides a public‑facing extension of your cemetery data that improves transparency while keeping control firmly in your hands.
Cemeteries choose exactly which data fields and media are visible to the public, from burial details to photos and documents. Burial Search connects directly to CIMS records and maps and can be accessed online or through on‑site kiosks.
There are two types of information you can share via Burial Search:

CIMS Data Fields:
- Click on the ‘Search/burial info’ tab at the top of the Burial Search settings popup.
- Underneath the ‘Search/burial display information’ are several collapsed headings; click on them to expand them. Check or uncheck options to choose what information will appear to the public.
- Options that are checked will appear in a list; drag and drop these options to change the order.

Media:
Clients may choose to display images to the public, including photos of headstones, PDF's of obituaries, and so on.
- Navigate to the image you wish to display. In the upper-right corner of the image, a reddish-brown business card icon should be present.
- Click on this icon once; it will turn green, indicating that the image is now visible to the public on Burial Search. Colorblind users can hover over the icon for a text description.
- To remove the image from public viewing, simply click this same icon again. When the icon turns reddish-brown, it is no longer publicly available.
Easy Navigation Leads to a Better Cemetery Software Experience
Software is only valuable if people actually use it. Intuitive navigation leads to faster onboarding, less training time, and higher staff confidence. When workflows are clear and consistent, data is entered more accurately and used more consistently.
Over time, this translates into greater satisfaction, stronger adoption, and a better return on investment. The easier the software is to navigate, the more likely it is to support your cemetery’s operations long term.
See Cemetery Software Navigation in Action
Intuitive navigation isn’t just nice to have; it directly impacts service quality, efficiency, and staff morale. The right cemetery software should feel intuitive from the first click and continue saving time every day after.
If you’re thinking about new cemetery software, let us show you how CIMS works in real life. See how easy cemetery software navigation can be and schedule a CIMS demo today!